

Table of contents
Got some old laptop lying around? Want to throw it out but never managed to execute that step? Well, I suggest you learn to reuse your tech. With the “Right To Repair” swarming the global news pages, we should broaden our focus to cover all tech, and not just the phones and their manufacturers.
Requirements
- Laptop
- LCD Controller
- Power Supply (12V 3A+)
- Photo frame
- Drill
Assembly
- Disassemble your laptop and take the LCD panel
- Note the panel model usually written on a sticker on the back of the panel

- Order a LCD controller for the noted model (Ebay, Aliexpress)

- When delivered, connect the controller to the LCD panel
- If everything works, try to fit the all of the components into a picture frame. I bought mine in IKEA because they had one with perfect fit dimensions.

- Make sure to make alterations which are needed so the LCD panel fits the frame cutout perfectly. I had to take a chunk out of the back panel of the frame with a Dremel tool.
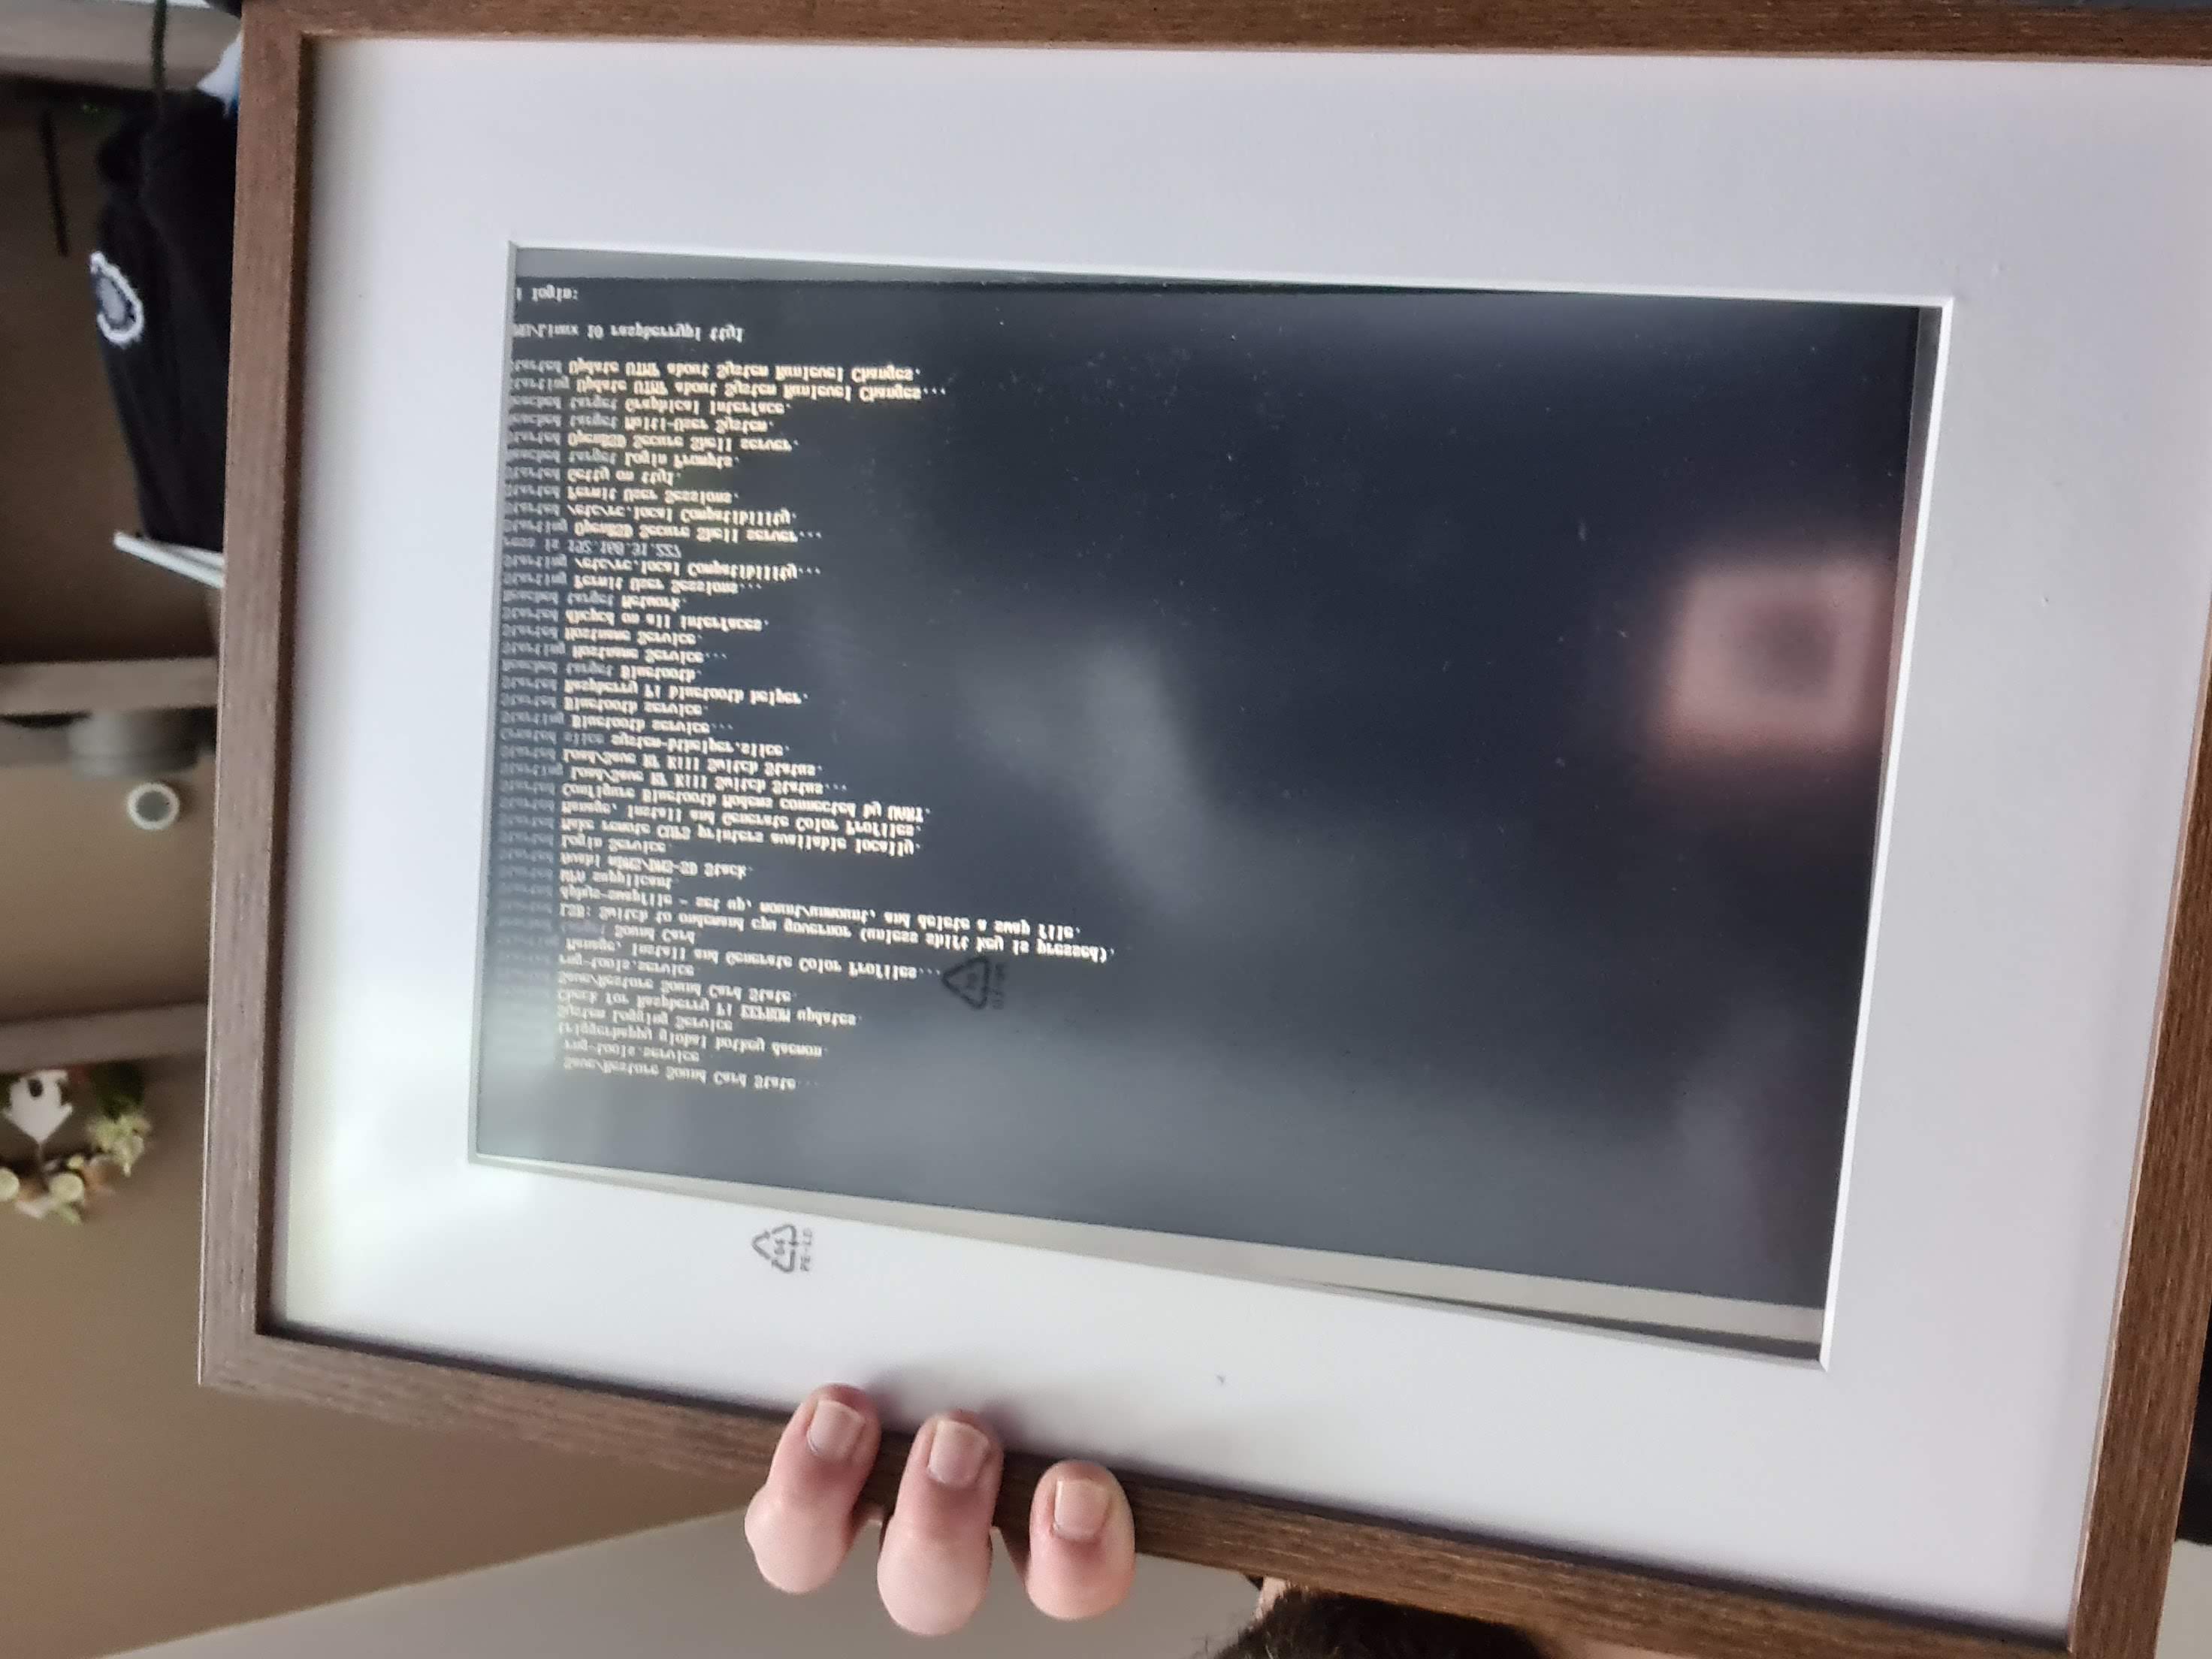
- Test that everything works by attaching it to a device with a video output.
- Assemble the frame back together by adding a back panel to cover all of the components.
- That should be it. If none of the components are faulty, your screen will shine.

Putting it to good use
Since your new screen is not coupled with a piece of hardware which delivers the video signal, you can use it for whatever you want. I attached it to a Raspberry Pi Zero W which I had laying around.
I created a Google Photos smart photo album which adds all of my family member photos according to the faces which are appearing in photographs. After that, whipped up a web app with a NodeJS backend which serves a random photo from that album.
Repository
Photoframe
Get the ID by creating a shareable album URL and copy the hashed string at the end of the route. Set the ID inside the .env file.
Conclusion
I’m very pleased with couple of my latest creations because I stepped up my game and stopped making prototypes. The need for production ready, reliable and robust products just couldn’t be kept under the rug anymore.
You can expect more DIY tutorials in the future.
Share any worries that you might have about this build or improvements which you think I should consider.
Gallery